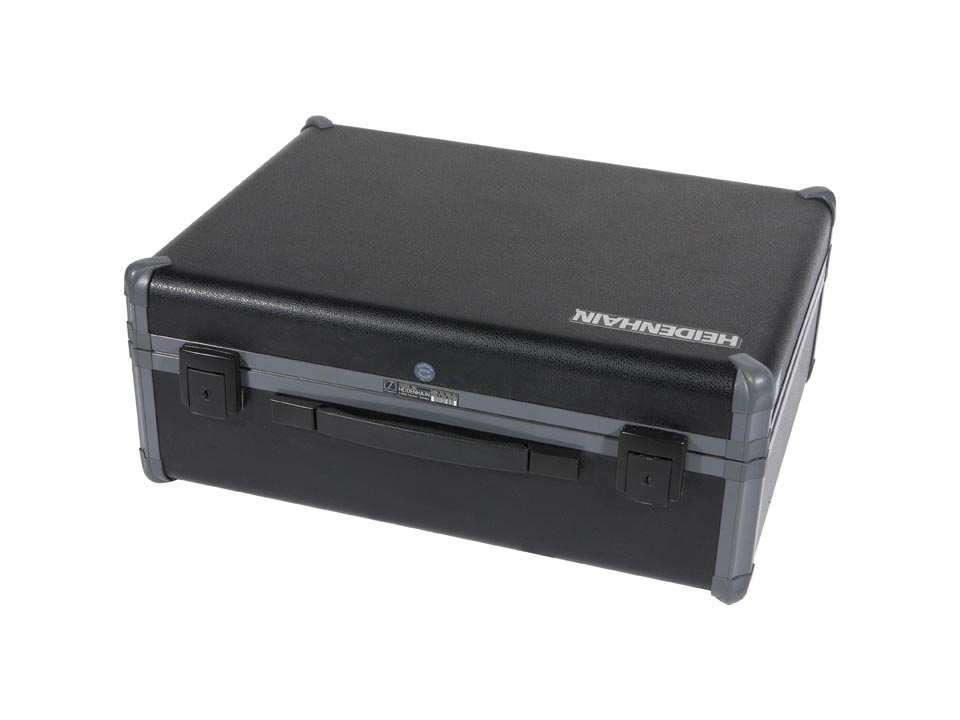
Heidenhain KGM 182 Grid Encoder

We no longer offer this product. If you want repair service or a custom modern equivalent, contact us.
Includes
- Heidenhain KGM 182 grid plate
- Heidenhain KGM 182 scan head
- Heidenhain IK 220 PCI card for data acquisition
- Heidenhain ACCOM software
- All necessary cables
- Carrying case
- Heidenhain calibration charts from time of manufacture showing accuracy of ±0.90 μm on both axes over 234 mm measuring range
- ACCOM user manual
- IK 220 user manual
- KGM 182 user manual
Refurbished by Hofstra Group
- Professionally cleaned and inspected optics
- Verified performance on jig boring machine
Features
- 2-axis free-form measurements accurate to ±0.9 μm
- Easy to set up
- Easy to use
- Automatically generates NC test programs
- Immune to variations in air temperature or pressure
- Compatible with IK 220 PCI card and EIB 74x interface boxes
Applications
Free-form test
In the free-form test, the CNC control moves the machine axes in a plane on any programmed path. The corner test, for example, provides information on the dynamics of the position control loops with respect to overshoot and the resulting rounding error. Free-form tests can be conducted only with the KGM grid encoder. Special free-form contours can be evaluated according to ISO 10791-6 K2—Feeds and K3—Interpolation.
Step response test
The step response test can be used to measure the overshoot behavior in an axis (step-response function) and provide information on the influence of static friction and the accuracy with which positions can be held. This test is also intended for high-precision tasks requiring increments of as small as 0.1 μm to 0.01 μm.
Measuring the static positioning accuracy and guideway
error The positioning accuracy and repeatability of a machine tool is measured statically after the machine axis has been moved to certain positions. Besides the positioning accuracy, these devices also measure the guideway error perpendicular to the direction of machine tool traverse. The KGM can inspect accuracy in two axes within traverses up to 230 mm.
Circular interpolation test
In the circular interpolation test, the CNC control performs a circular interpolation in the working plane. The KGM Grid Encoder measures the actual path of traverse. From this information, the ACCOM evaluation software determines deviations from an ideal circular path and displays them as a motion error trace on the screen. It also calculates the numerical values such as circular error, hysteresis and radial error according to ISO 230-4. Circular interpolation tests with small radii (e.g. with the KGM) provide information on the accuracy of the control under high axis acceleration. The influence of the machine geometry on the result of measurement is insignificant. The control and drives, however, have a strong effect.
Specifications
Measurement Range |
230 |
|---|---|
Accuracy |
0.9 μm |
CONTACT
JOIN US
ABOUT US
