Mahr Federal 232P-68 Differential Electronic Level

We no longer offer this product. If you want repair service or a custom modern equivalent, contact us.
Includes
- Two EGH-13 inclinometer heads
- One EAS-1338 dual-input amplifier and readout
- Two signal cables
- AC power cable
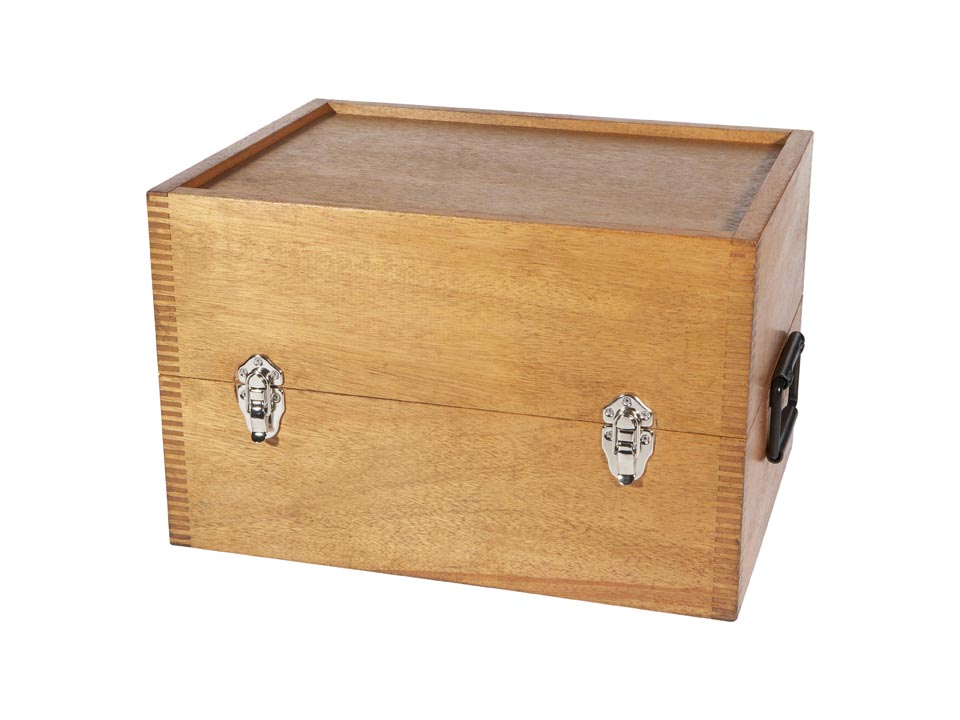
- Storage case
- User manual
Hofstra Group Refurbishment
- Complete operational validation
- Rework of signal cables for improved reliability
- Replacement of storage case hardware
- Replacement of degraded electronic components
Options available from Hofstra Group
- Mounting to Ultradex table for measuring large angles and calibrating rotary axes
- Traceable calibration
Click Here to Download Brochure
Absolute leveling
In absolute leveling, the Federal 232P-68 is used to show any deviation in the right-angle relationship between a horizontal surface and the earth's gravitational force (usually expressed as an angular or linear deviation from absolute level), or to show any change in this relationship over a period of time.
Differential leveling
In differential leveling, the Federal 232P-68 is used to compare the orientation (attitude) of separate or adjacent horizontal surfaces, or to show any change in this comparison over a period of time.
Squareness and arbitrary angles
When mounted to an ULTRADEX table or precision angle plate, the Federal 232P-68 is capable of measuring squareness and arbitrary angles with respect to gravity or to show any change in arbitrary angular relationships over a period of time.
Principles of operation
The Federal 232P-68 Electronic Level system is a very precise instrument for indicating angular deviations. It consists of two pendulum-type clinometer heads and an electronic amplifier whose meter scale is calibrated in seconds of arc. In addition, when the input from the heads is arranged for opposite responses to a common motion, the motion will be ignored. The amplifier responds only to changes which affect the two heads differently. Vibrations or a shift in attitude of the object whose surfaces are being compared will not influence the measurement.
Panel mounted switches on the Amplifier are used to reverse gage head response. This dual input Amplifier eliminates the expense of a separate amplifier for each gage head. Sensing Heads can also be used individually, if desired.
The Sensing Heads are marked "A" and "B" for identification purposes and have adjustable bases, permitting setup on surfaces that are out of level or square by as much as ±1.5°. The electronic amplifier has five ranges with the highest magnification having a minimum graduation of 0.5 second of arc. "Click-Scale" numerals change to suit the range selected, preventing confused readings. Direction of slope is indicated by corresponding reference marks on the Sensing Heads and meter dial.
Each sensing head contains a pendulum. The pendulum is supported by two reed springs attached to an extension block at the top of the Sensing Head's housing. Tilting the Sensing Head causes a change in the position of the pendulum's shading loop in relation to the center leg of the core. This produces an electrical unbalance in the amount of flux passing through the two secondary coils, delivering a signal proportional to the displacement of the pendulum. This is displayed on a meter graduated in seconds of arc.
Applications
- Check flatness, roll or pitch of machine ways, machine beds and other surfaces which establish critical paths.
- Profile surface plates or other precision surfaces.
- Align missile, gyro and radar platforms, machine beds and optical devices and critical sight paths.
- Check proper installation of building or bridge foundations and structural members.
- Show deflections in machine tools caused by movement of carriages and cross slides or by the force of the tool against the work.
- Show the extent of deformation in objects under stress.
- Use as sensor for feedback control of platform level.
Specifications
Repeatability |
0.1 division or 0.2 arcsecond, whichever is greater |
|---|---|
Measuring ranges |
±1000,±200,±100,±20,±10 arcseconds |
Range of Adjustment |
3 ° |
AC Input Power |
7 watts (117 V ±10%, 50-60 Hertz) |
Signal Cable Length |
8 ft |
Bearing Surfaces |
0.375" L x 2" W (hardened steel) |
Calibration Accuracy |
2% full scale |
Electrical Zeroing |
400 arcseconds |
Analog signal outputs |
25-0-25 at up to 500 µA |
Minimum Graduations |
50, 10, 5, 1, 0.5 arcseconds |
CONTACT
JOIN US
ABOUT US
